A lot of users become frustrated due to the Toshiba laptop error 0xc00000e9. This is a typical bad hard-drive error that appears because of a hardware malfunction.
To be more precise, usually, this error occurs due to the communication error between the device and the hard drive.
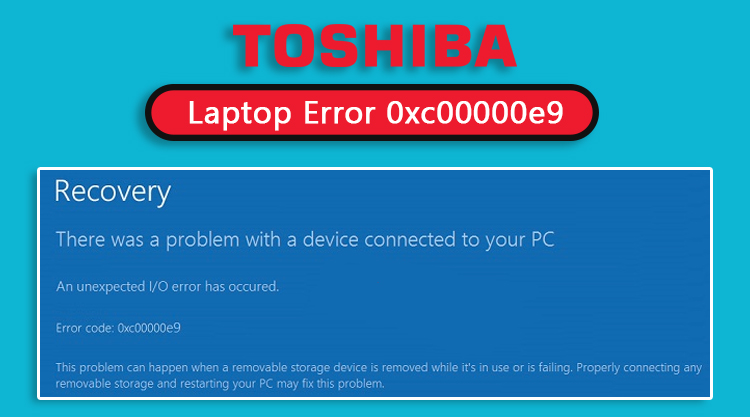
The error 0xc00000e9 comes up in the form of a notification like “An unexpected I/O error has occurred”. This error is also known as SSD (Solid State Drive) error and it can also lead to the BSOD error in the system.
In some instances, users get stuck with this Toshiba device error after installing the latest version of Windows OS. Once this error appears on your device, users find that their device starts to lag and even respond sluggishly to the mouse and keyboard input.
If you are encountering similar troubles, then you have landed on the right page. Here, we will be going to discuss all the predictable reasons and solutions of this glitch shortly.
Table of Contents
Predictable Causes Behind Toshiba Satellite Laptop 0xc00000e9 Error
There can be various factors due to which you can find the error code 0xc00000e. But, this section will provide you with the most significant reasons for the occurrence of the error.
- The corrupted or damaged hard drive can be the foremost reason for the Toshiba laptop error.
- Outdated or backdated device drivers can also be responsible for the issue.
- Also, improper installation of the hard drive can also result in the error.
- Furthermore, any interference with the Windows registry files can also trigger this error.
These are the most common factors that are responsible for this error. You can also find this same issue if the BIOS fails to communicate with the hard drive.
Beneficial Solutions to Troubleshoot Toshiba Laptop Error 0xc00000e9
Here, in this section, you will get to know the most reliable workarounds to isolate this glitch from the system. Thus, you can perform the action one by one and find out the exact solution.
Inspect the External Devices
If you get error 0xc00000e9 all of a sudden without proper notification, then the first thing to do is to inspect the external devices. This is the basic way to eradicate this kind of error from your device.
To do that, you need to turn off your Toshiba laptop and disconnect all the external devices, attached to your device like keyboard, mouse, USB flash drive, etc.
After removing all the external devices, choose the Restart button from the menu to reboot your device.
After restarting your device, if the error gets removed, then connect all the external devices one by one. Then, reboot your device again. After restarting it, this might work without issues.
Change the BIOS Settings
Sometimes, improper BIOS settings can also trigger Toshiba satellite laptop 0xc00000e9 error. To overcome this situation, you should change the BIOS settings. In order to change the BIOS settings, you need to go through the undermentioned steps.
Step 1: To begin this process, reboot your Toshiba laptop. Once it restarts, hit the F12 key to launch the BIOS Settings.
Step 2: Now, in the BIOS Settings window, choose the option Load Optimal Defaults from the appeared menu and configure the hard disk settings properly.
Step 3: Here, you need to configure the settings either AHCI or IDE. Now, hit the Apply and OK buttons to save all the new changes
Run Disk Check
This Toshiba error can be caused by the disk issue. Therefore, you can resolve the error by running the Disk check.
- Firstly, press the Home key along with the R key altogether. Then, invoke the Run window and write “msconfig” and hit the Enter key to run the command.
- This process will launch the System Configuration window. Here, you need to navigate to the Boot tab.
- Now, under the Boot tab, locate and select the Safe Mode option. Now, tap on it and hit the OK button from the menu.
- Once you perform this task, reboot your device in Safe Mode to save all the new changes.
- Now, go to the Search dialog box and write “cmd” in it and hit the Enter key. Now, right tap on the “Command Prompt” and select the Run as Administrator” option from the appeared menu.
- Once the Command Prompt window opens, type “chkdsk /f /r” and hit the Enter key to run the command. Press the Y button to confirm the process.
Update the Device Drivers
Outdated or corrupted device drivers can also result in the error. To get rid of the error, you need to update the device drivers by following the below-discussed steps.
Step 1: Firstly, navigate to the Start icon. Then, search for the Device Manager. Once you find it, click on it and invoke the window.
Step 2: In the Device Manager window, open the category with the hardware you need to update.
Step 3: Afterward, right-click on the device and choose the “Update Driver” button from the resultant menu. Now, let Windows choose the driver software.
Step 4: Therefore, you need to select the option “Search Automatically For Updated Driver Software”.
Once the process is over, reboot your device to let the new changes take effect. In case, even after updating the device drivers, if you still encounter the same error, then you can proceed with the next section.
Repair the Registry Entries
Corrupted or damaged registry files can be another factor that can influence this error. So, you need to repair the registry entries in no time to get rid of the error.
Step 1: At first, press the Home key and write “Advanced Startup Options” int the Search field. Then, hit the Enter key to open the Advanced Startup Options.
Step 2: Here, you require to locate and choose the “Change Advanced Startup Options” and then go to the Recovery tab. Under the Recovery tab, hit the “Restart Now” option.
Step 3: Now, your device is in Advanced Startup mode. Thus, select the Troubleshoot option from the appeared menu and go to the Advanced Options.
Step 4: Thereafter, choose the Automatic Repair option from the queue menu. Now, reboot your device to let the new changes take effect.
Repair MBR
In order to repair the MBR, you should connect the external drive or the internal one with the Windows PE to your Toshiba device. Then, invoke the Windows PE and set the C drive as the Master Boot Record.
Once it is done, restart your device and check whether the error gets removed or not.
Final Remarks
That’s all you require to know about the Toshiba laptop error 0xc00000e9. We hope, after performing the above methods, you are able to resolve the Toshiba error.
But, in case if you have any more queries regarding this Toshiba error, then you can drop your confusion in the comment section below.