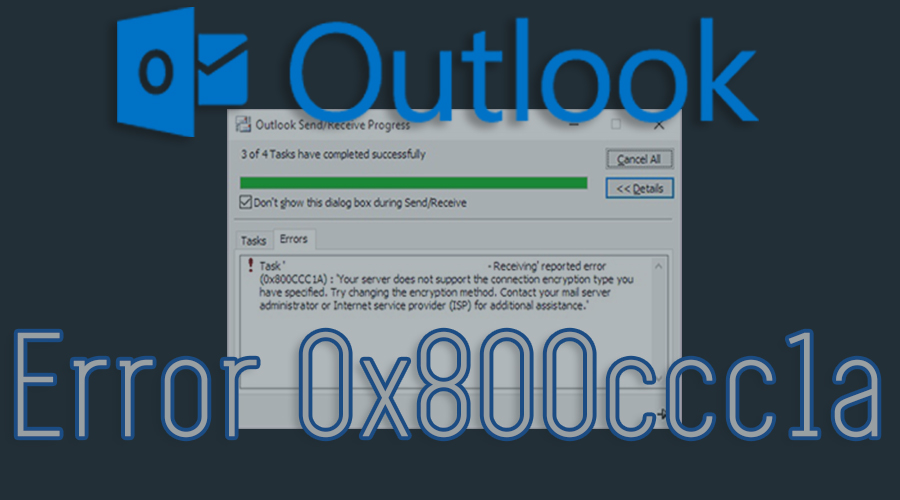
When the email client software fails to communicate with one of the two servers, users might face the Outlook error 0x800ccc1a. On such occasions, you cannot send or receive any email through Outlook.
Multiple reasons are responsible for this particular error code. An error message constantly popping up on the screen leaving the users puzzled and indicates that the exact causes are unknown but it is quite sure that this error occurs due to server settings.
Apart from that, in case the SSL is enabled, then that might be one of the main reasons for this error code. Corrupted or missing PST files and faulty port settings are equally responsible for Outlook error 0x800ccc1a.
Moreover, a faulty port number happens to be one of the more significant causes of the same error code. Third-party antivirus software might restrict you from sending or receiving emails from your Outlook account. Misconfiguration in the PST file is another reason for what you might get the same error code.
Hence, whatever be the causes, you need to solve the issue at the earliest as you can. Keeping that in mind, in this section, we are going to describe some troubleshooting methods that can be useful for you to get rid of this Outlook error code.
Table of Contents
Feasible Tricks to Fix Outlook Error 0x800ccc1a- Stepwise Instructions
Unfortunately, if you are also dealing with the same problem, then this tutorial is enough for you to resolve it on your own. Just follow the instructions exactly in the same manner and get rid of the problem sooner.
Solution 1: Fix the Outlook Data PST File
While it comes to resolving the error 0x800ccc1a Outlook 2016, especially if it is caused by a corrupted PST file, then you can use this method.
The first and foremost thing you have to do is to tap on and hold down the Windows and R button at the same time to launch the Run command. After that, navigate to the “C:\Program Files (x86)\Microsoft Office\root\Office16” path and then tap on the OK option as well.
Next, you need to double-tap on the SCANPST.EXE file. It will help you to start the Microsoft Outlook Inbox Repair experience. Now, choose the Browse button and navigate to the pst file that you want to repair.
Just tap on the Open icon and then click on Start as well. After that, you need to check the “Make a backup of scanned file before repairing” option by clicking on it. Then, choose the Repair icon and keep waiting while the repairing process is going on.
Finally, restart your Outlook account and check if the error code is still showing up or not.
Solution 2: Change the Encryption Type
Seldom, due to the wrong encryption type, you might encounter Outlook error 0x800ccc1a on your device. Try to follow the steps provided below and modify the encryption type.
In the first step, you have to go to Microsoft Outlook and click on it. After that, tap on File and in the Info tab, choose the Account Settings as well.
Then, you have to select Account Settings from the drop-down list. Now, it’s time to scroll down until you see the account which you are using and choose the Change option.
After that, click on the More Settings tab and move to choose the Advanced option as well.
Then, you need to select the SSL, in case, you see that TSL is selected from the drop-down list located at the front of the “Use the following type of encrypted connection” option.
At the last step, tap on the OK button and restart your device to check the status of the error code. If the error code gets resolved completely, then it’s OK but if it’s still showing up, then move to the next trick.
Solution 3: Change the Faulty Port
If you are receiving the reported error 0x800ccc1a Outlook 2007, it might be because of the faulty port. Changing the port can be a beneficial method for you in order to fix the Outlook issue.
First of all, you have to click on the Outlook application that is installed on your device. After that, tap on the File and choose Account Settings from the drop-down list. Then, you have to select the account in which you are facing this error and then tap on Change.
Thereafter, choose More Settings and then go to the Advanced tab as well. Now, you should be sure that you have chosen SSL from the drop-down menu. You will find this option in front of the “Use the following type of encrypted connection” tab. Then, strive to modify the port value IMAP to 993 and SMTP to 587. Also, check that the encryption type is set as STARTTLS.
At the final step, tap on the OK button to save the changes that were recently done by you. Reboot your device and check whether the same problem annoys you or not.
Solution 4: Recover the Missing Items from Backup
Due to missing items on your account, Outlook error 0x800ccc1a might appear on the screen. In such instances, recovering them from the original Outlook Data File may help you to solve the problem.
First of all, you have to go to the location of the .bak file. You can find this file in the same folder as the .pst file. After that, right-click on the .bak file and choose the Copy icon. Now, right-click on the folder once more and click on the Paste option for creating a copy of that particular file.
Now, you need to choose the .bak file and hold down the F2 button on your keyboard. Rename the file to .bak.pst and hot on the Enter button as well. Thereafter, launch Outlook and click on the File icon. Choose the Open & Export option and then navigate to the Import/Export icon as well.
After that, choose the Import tab from another program or file option and tap on Next. Now, choose the Outlook Data File (.pst) option and also tap on Next. Then, you have to mention the location of the .pst file and also choose the Import icon.
Choose the files you desired to import. At the last step, click on Finish and keep waiting until the process gets done completely.
Solution 5: Configure Outlook
When all the above methods failed to solve the error 0x800ccc1a Outlook 2016, you need to configure your Outlook account by following the steps mentioned in the next section.
The first and foremost thing you have to do is to boot into the computer using an Administrative account. After that, load Outlook by tapping on the desktop icon.
Once you see the Outlook is running, then you have to tap on Tools and go to Account Settings. From that tab, just double-click on the Account and try to check if the email account screen appears or not.
Choose More Settings and then click on Advanced to uncheck the box located next to the server. Finally, click on OK and restart your device to check if the issue gets fixed completely.
We hope this article will be beneficial for you if you follow each and every method carefully. But in case, if you ever face any problem regarding any step, then we suggest you do the same once more and be sure that you don’t make any mistakes at all.
If you have any further Outlook-related issues, then get in touch with professionals and let them help you.