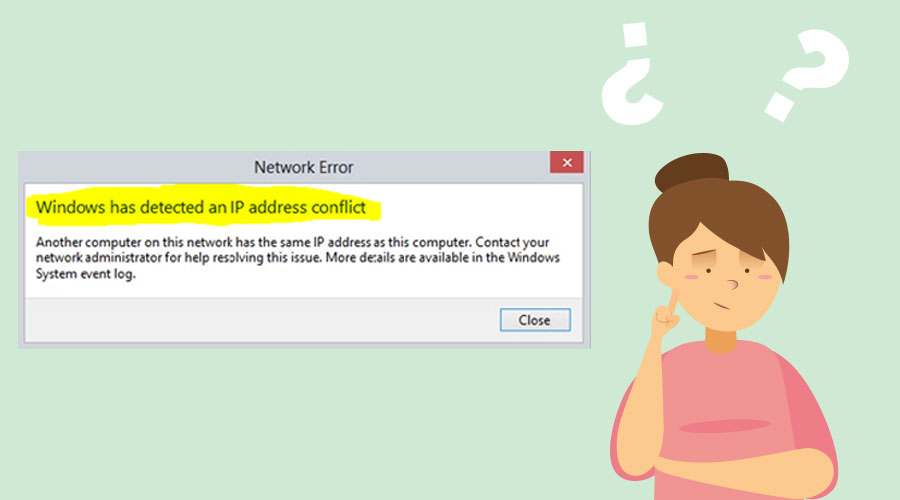
IP conflicts occur when two or more devices or computers on the same network is given the same IP address. In this case, a warning error message will usually display “IP address conflict error”
Usually, IP conflicts appear on local area networks (LANs), although they can also occur between several devices connected to the Internet. Any device with an IP address can conflict with other devices.
This error message comes up if the network card driver has not been updated for a long time. Sometimes, a corrupted network card driver can cause this error message. If the device is set with a static IP address, then that might show this error message.
If you are also facing this problem, then read this article. Here, you will get all the possible fixes regarding this particular error message and will also be able to solve the issue on your own.
Table of Contents
Effective Solutions for IP Address Conflict Error
Here are some of the easy and useful fixes which you can apply on your PC to fix this problem without any hassle.
The undermentioned fixes are effective enough to remove this error message from the system. Therefore, stick through the fixes and implement them accordingly:
1. Restart the Router
Due to some glitches, the router may fail to assign a proper IP address to your PC. Then the error message of IP address conflict appears on the system.
In that case, you need to restart the router in order to solve this problem. To do that, follow these steps:
- At first, press the Power button to completely turn off the router.
- Wait for 2-3 minutes and then turn it on again by pressing the Power button.
After restarting the router, you need to give 3-4 minutes to settle and then connect it to the computer and check if this error message still appears or not.
2. Release and Renew the IP Address
If there is a problem with the IP Address, then you may see the network error IP address conflict on the screen. So, you should renew the IP address on your PC. Follow the directions given below.
- On the keyboard, press the Win + X keys together to launch the WinX Menu list. After that, choose the Command Prompt (Admin).
- In the Command Prompt window, type the following command one by one and then hit the Enter button after typing each command.
- netsh int ip reset c:\resetlog.txt
- ipconfig /release
- ipconfig /renew
- Once these commands are executed, reboot the device and then check if the issue is removed or not.
3. Remove the Static IP Address
Few people are using a static IP address on their system. It makes it very easy to obtain a particular system on their network.
However, if you set a static IP address on your computer then it can be the reason this error message shows on the screen.
So, you have to remove the static IP address on the system. In order to solve this error message, you must use a dynamic IP address on your computer. To do that, follow these instructions:
- At first, right-click on the Windows icon to open the list and then select the Network Connections button.
- From the Network Connections window, find Network connection, right-click on it and then select the Properties button.
- In the Properties window, scroll down the connections list until you find the Internet Protocol Version 4 (TCP/IPv4), double-click on it to open the Properties window.
- When the Properties window opens, tick on the Obtain an IP address automatically and Obtain DNS server address automatically buttons.
- Then select the OK option to save the changes.
- After that, reboot your computer.
4. Update the Network Driver
The IP address conflict error message can be caused by a corrupted network card driver or an outdated driver. So, you have to update the driver properly. To do that, follow these instructions:
- Press the Windows Home key and R button to launch the Run dialog box. Type Device Manager and then click on the OK option or hit the Enter key.
- In the Device Manager window, go to the Network Adapters, select it to expand the section. After that, right-click on the Network driver and then choose the Update Software Driver button to begin the update process.
Once the update process is finished, reboot the computer and then check if the problem still appears or not.
5. Run the Network Adapter Troubleshooter
Network adapter troubleshooter is an in-built tool of Windows. This tool automatically identifies and solves the issues that prevent the system connect to the internet & network. So, you need to run this tool in order to eliminate this problem. The following steps will help you:
- Press the Windows Home key and I button together to launch the Settings window.
- When the Settings window opens, double-click on the Update & Security section and then go to the Troubleshoot tab.
- In the Troubleshoot tab, look for the Network Adapter, select it and then click on the Run the Troubleshooter button.
- After this, you have to reboot the device and then check whether the issue is fixed or not.
6. Turn Off IPV6
Enabling the IPV6 can cause this error message on the screen. So, you need to disable it. To turn it off, follow these instructions carefully:
- First of all, go to the Search box, type Network Connection and then press the Enter key.
- From the Network Connections window, right-click on the network connection that you are using and then select the Properties button.
- When the Properties window opens, find Internet Protocol Version 6 (TCP/IPv6), unmark it. After that, click on the OK option to save the changes.
7. Modify the Registry Editor
Modifying the registry editor can also eliminate this error message on the system.
- First, hold the Windows Key and press the R key to launch the Run box. Type regedit and then hit the Enter button or click on the OK option.
- From the Registry Editor window, go to the HKEY_LOCAL_MACHINESYSTEMCurrentControlSetServicesTcpip6Parameters key on the left panel.
- On the right pane, locate the DisableComponent DWORD folder. If you do not find the DWORD, then you have to create it.
- On the right pane, right-click on the empty space and select New and then click on the DWORD (32-bit) Value. Put the name of the new DWORD is DisableComponent DWORD.
- After that, double click on it to launch the properties. In the properties window, put the Value data is to 0ffffffff and then select the OK option to save it.
However, keep in mind that any tweak with the registry is risky and can damage the system if not done correctly. So, you should take a backup of the current registry before you move on with this method. Or, you can connect with a professional to resolve this issue.
8. Modify DHCP Range
If you keep getting this error message on the system, then you need to modify the DHCP range on the router. If you do not know how you can do that, follow these steps:
- Go to the Search box, type Control Panel and then hit the Enter button.
- When the Control Panel window opens, double-click on the Network Connections section.
- In the Network Connections window, locate and double-click on the Internet Protocol Version 4 (TCP/IPv4) button to open the Properties window.
- From the Properties window, tick on the Use the following IP address button and then put the DNS information. Regarding IP Address, you need to put any other value that is outside the DHCP range.
After that, select the OK option to save the changes. Once you are done with these steps, restart the router and the device and then check if it works correctly with showing any error message.
9. Re-Enable the Network
If the previous fixes did not help you in fixing this error, then you should utilize this procedure to overcome this situation. You need to disable the network and then re-enable it. Go through these steps:
- Open the Start Menu list and select Device Manager.
- When the Device Manager window opens, navigate to the Network section and right-click on the WiFi adapter. After that, click the Disable button.
- Once it is disabled, you need to wait for a few seconds and then enable it. Right-click on it and then select the Enable option.
Conclusion
We hope this article will be beneficial for you in fixing this IP address conflict error on your system.
Go through the solutions and apply them accordingly to solve the error quickly. If you face any problem while following these fixes, you can consult an expert.