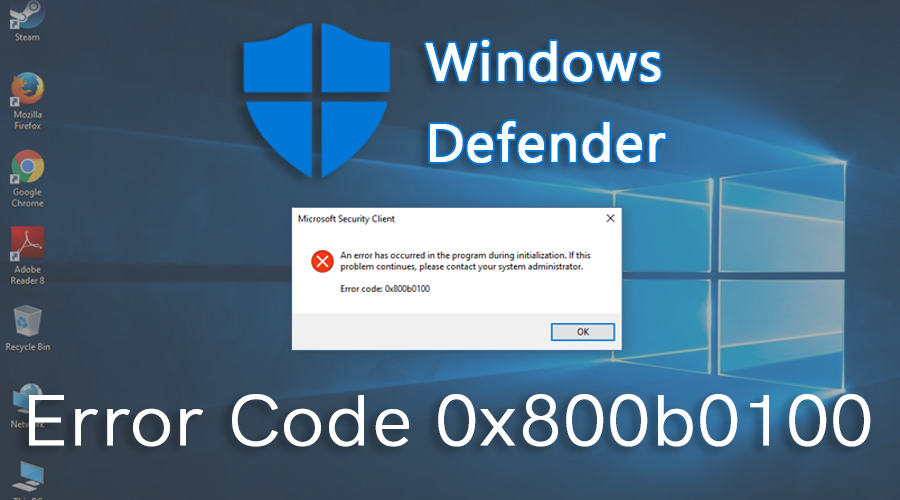
The Windows Defender error code 0x800b0100 can arise when you try to invoke the Windows Defender application on your device. Once this error appears on the screen, you won’t be able to enable Windows Defender.
If your device is infected by any sort of malware or virus, then you might encounter this error. It can also appear if you have any third-party security software installed on your device.
The third-party security program can conflict with the Windows Defender application and as a result, the error might arise.
Even when some of the system files get corrupted or damaged somehow, there are chances for you to get such error.
Moreover, if any of the Windows Defender-related services gets deactivated, then this problem can also crop up.
As there are various reasons behind this error, there should be sufficient solutions as well. Thus, straightly head over to the successive section that mentions all the steps comprehensively.
Table of Contents
How to Deal with Windows Defender Error Code 0x800b0100 Windows 10?
There can be several hacks that can help you to resolve the Windows Defender error. But, here, in this section, we are going to mention some of the effective hacks.
So, without further delay, let’s begin.
Execute a Clean Boot
It is one of the most reliable hacks for eliminating the error code in Windows Defender. Starting the Windows with the minimum amount of features can help you overcome the error.
If this error is triggered by any third-party applications, then you can easily identify the problematic application. This process will disable all third-party applications and boot your device safely.
To do this process, you can follow the steps underneath.
Step 1: Firstly, locate the Home key on your keyboard. Once you find it, press it along with the R key. This action will launch a Run window. In the Run window, write “msconfig” and hit the Enter key to proceed further.
Step 2: Now, navigate to the Services tab and click on the System Configuration. Here, in the System Configuration window, locate the “Hide All Microsoft Services” option.
This option has a checkbox, ensure that it is ticked. If not, then click on that option and place one tick on it.
Step 3: Since all the Microsoft Services are hidden, tap on the option “Disable All”, present on the right-bottom corner of the window. Next, navigate to the Startup tab and hit the Task Manager window to invoke it.
Step 4: Once the Task Manager window opens, choose all the programs that belong to the third-party source. Right-click on them one by one and hit the Disable button from the appeared menu.
Step 5: After completing all the above steps, close the Task Manager window and choose the OK button to save all the new changes.
Now, restart your device. This action will allow your device to start with the minimum applications. So, launch the Windows Defender and verify whether the error is still there.
Inspect the Windows Defender Service
Sometimes, due to certain glitches, Windows Defender services are not working properly. Under this circumstance, users get stuck with such kind of error.
Therefore, ensure that the Windows Defender service is enabled. In most cases, such a situation appears due to the virus infection on your device.
Hence, to make sure that the Windows Defender services are running, go through the steps underneath.
- In the first step, press the Home key along with the R key. This action will invoke the Run dialogue box. Now, write “services.msc” into the Run window. Afterward, press the Enter key to proceed with the next step.
- Here, you will find a new window with a list. From the list, find out the Windows Defender. Once you locate it, right-click on it to open the experience.
- Afterward, the Windows Defender window will invoke. Under this window, you have to make a few changes. You need to set the “Startup Type” option to Automatic. Make sure that the Windows Defender Service is in running condition.
- Next, locate “Windows Defender Advanced Threat Protection Service”, check whether it is running or not.
- Moreover, review the other services and make sure that they are enabled and set to Automatic. In case, you find any option is grayed out, then don’t worry. it completely depends on the configuration of your device.
After finishing the above steps successfully, the Windows Defender error should be eliminated from your device.
Use the SFC and DISM Tools
When the system files are missing or get corrupted, then you can come across this Defender error. Thus, the solution to get it fixed is to use both the SFC and DISM tools.
The System File Checker (SFC) is a utility that is built into all versions of the Windows OSs. This helps to review the stability of all the system files and repair them if any of them gets damaged or corrupted.
And Deployment Image & Servicing Management (DISM) is another built-in utility that locates the corrupted system files and replaces them with a new one that the SFC tool can’t.
So, it is a smart choice to use both the SFC and DISM tool. Here are the steps that you have to follow for this.
Step 1:
Press the Start button and type“Command Prompt” into the search bar. Afterward, from the output of the search, right-click on the Command Prompt. Now, choose the option “Run as Administrator” from the pop-up menu to invoke the Command Prompt window with Administrator rights.
Step 2:
As the UAC prompts, select the Yes button from the menu. Now, a new window with the black cursor will invoke into the screen.
Step 3:
Write “sfc/scannow” command in the Command Prompt window and hit the Enter key to execute it. It will detect all the corrupted system files and repair them successfully.
Step 4:
But, if it doesn’t work, then enter the following command and hit the Enter key into the Command Prompt window.
DISM /Online /Cleanup-Image /RestoreHealth
Once the execution of the command is over, reboot your device to let the new changes take effect.
Finally, when your device boots up, check whether the error still occurs or not.
Run a Trustworthy Antivirus Software
When the Windows Defender gives error code 0x800b0100, then it can be because of the presence of some other security software. The prominent way is to run trustworthy antivirus software. To achieve this, go through the undermentioned steps.
- First of all, click on the antivirus software icon to open it. Find out the Scan button and click on it. It will search for the malicious components automatically.
- If there is any sort of virus within the device, then you require to remove those corrupted files. After removing the malicious components, reboot your device.
Sum It Up:
We hope, now, you have a clear idea of How to eliminate the Windows Defender error code 0x800b0100. So, read them carefully and apply in the same order as instructed to avoid further risk.
If you want to know more information regarding this Windows Defender error, then you can comment in the feedback section below.