Has your computer recently displayed a Connection failed with error 651? If yes, then it may look scary. However, there are solutions to it.
It is commonly known as the connection failed with error 651 is displayed on your computer screen.
This error occurs when users try to connect to the internet. If the modem fails to connect with the internet it sends this error code on the screen of the PC.
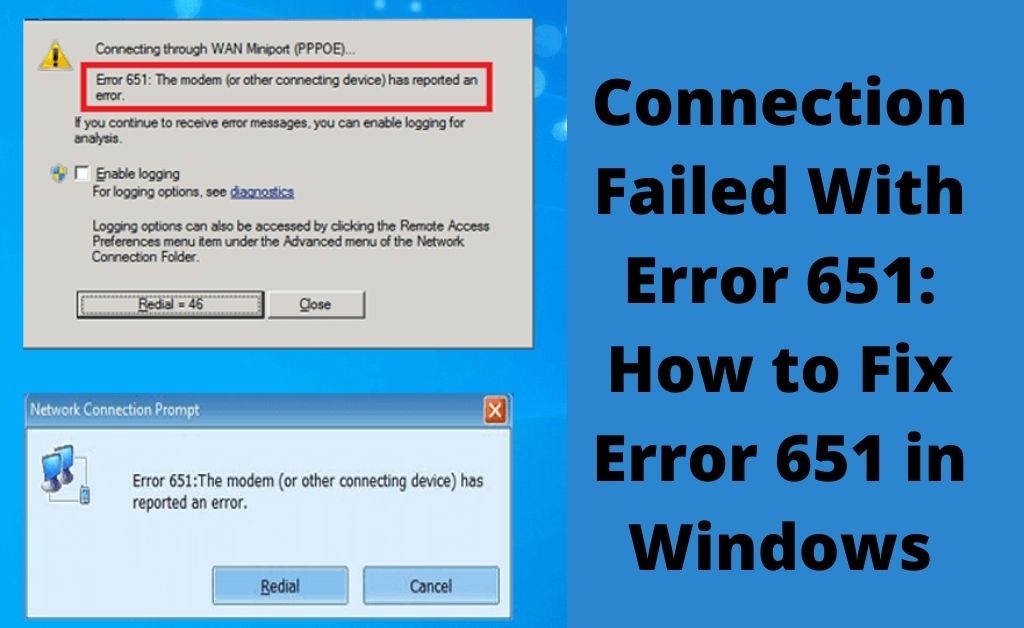
You try to connect a dial-up connection to the server using the PPPoE connection and try to establish a virtual private network connection, but at the same time, the following error message “Error 651: The modem (or other connecting devices) reported an error.” appears.
This problem occurs due to the incorrect IP configuration of your PC. A driver file raspppoe.sys seems to be the root cause of this error. Another reason for its cause may be a corrupted registry file or network driver.
If you are also a Windows user and receiving this error message, then go through this article. Here, we will explain to you exactly how to fix error 651 on a Windows 10 system.
Table of Contents
Effective Hacks to Fix Error 651 on Windows 10
There are a lot of solutions to get rid of the error 651 on the device. Below you will get all the useful solutions that will help you to overcome this situation quickly.
Solution 1 – Restart the PC and Modem
This error code comes up if there is a connection problem between your PC or modem. So, you need to restart these two. Follow the steps as stated below.
- Switch off the system.
- Switch off the modem and disconnect all the cables from the computer and modem.
- Wait for some time and then reconnect all the cables correctly into the system and modem.
- After that, switch on the PC and then check if the error code still appears or not.
Solution 2 – Update the Network Card Driver
A corrupted or outdated network card driver can cause the error 651 on a Windows 10 system. So, you should update it. To update the driver, follow the directions hereunder.
- First of all, go to the Device Manager window.
- From the Device Manager window, navigate to the left panel and locate the Network Adapter, select it to expand.
- After that, right-click on the network driver to open the list and choose the Update Software Driver button to start the update process.
- Once the update process is complete, reboot the device and then check if the error still occurs or not.
Solution 3 – Turn Off IPV6
Sometimes, this error code shows up if the IPV6 is turned on. So, you can simply turn it off. The following steps will help you.
- Locate the Network icon, right-click on it.
- Select the Open Network and Sharing Center option from that list.
- In the Network and Sharing Center window, click on the Change Adapter settings button on the left panel.
- Right-click on the network that you are using and then select the Properties button.
- From the Properties window, find and unmark the Internet Protocol Version 6 (TCP/IP6). After that, select the OK button to save it. Once you are done with these steps, connect to the network again and check to see if the internet connection is working properly without any error.
Solution 4 – Reset TCP/IP
TCP/IP stands for Transmission Control Protocol/Internet Protocol. In the private network, it is used as a communication protocol. So, you should reset TCP/IP on the system. Let’s have a look at the steps you can follow.
- Press the Windows Home key + X key to launch the WinX Menu list and select Command Prompt(Admin).
- When the Command Prompt window opens, type netsh int ip reset .log command and then press the Enter button.
- Once the command is executed, reboot your PC and then try to connect.
Solution 5 – Turn Off the Auto Tuning Feature
Turning off the auto-tuning feature can help you fix the error 651 on a Windows 10 system. Follow the steps given below.
- Launch the Command Prompt window.
- Type Netsh interface TCP set global autotuning=disabled in the Command Prompt window and then hit the Enter button to run this command.
- After finishing this task, restart the device and then check if the error code is solved or not.
Solution 6 – Enter Safe Boot
An alternative solution that you should try to get rid of this error code from the device is to enter the safe boot. Go through these directions:
- From the keyboard, press the Win + R keys to launch the Run box. Type MSCONFIG and then select the OK button or press the Enter button.
- From the System Configuration window, go to the Boot tab. After that, mark on the Safe boot option under the Boot options section.
- Then, mark on the Network option from the Boot Options section.
- After following the above steps, restart the Windows 10 system.
Solution 7 – Rename the raspppoe.sys File
Renaming the raspppoe. file should eliminate the error 651 error message from the device. The following steps will help you:
- Press the Windows Home key and E button together to launch the File Explorer window.
- From the File Explorer window, go to the local C drive and then select the Windows folder.
- When the Windows folder opens, locate the System 32 folder, double-click on it.
- Next, go to the Drivers folder from the System 32 folder.
- From the Drivers folder, search for the raspppoe.sys file, right-click on it and select the Rename button to change the name to raspppoe.sys_backup.
Solution 8 – Run the Network Troubleshooter
If the internet connection is still not working, try to run the network troubleshooter. It is an inbuilt tool of Windows. With the help of this tool, you may remove the error 651 on the machine. Follow the directions as instructed below.
- Go to the Settings window.
- When the Settings window opens, select the Update and Security section.
- Navigate to the Troubleshoot tab and then find the Internet Connection section, select it. After that, click on the Run the troubleshooter button to start the process.
- Once the process is complete, reboot your PC.
Solution 9 – Reinstall Network Adapter
If none of the solutions help you, then you need to apply this solution to get rid of this error code on your computer.
You need to uninstall the network adapter and again install it correctly. Here are some steps that you can follow:
- First of all, launch the Device Manager window.
- Select the Network Adapters section to expand it. Locate and right-click on the Adapter and select the Uninstall button to remove it.
- Once the removing process is done, you need to install it again.
- Now reboot the Windows system. When the computer reboots, it will install the adapter automatically. After completing these steps, check if the internet connection works correctly without any error.
Conclusion
Hopefully, the fixes given here will help you get rid of the connection failed with error 651 from your Windows 10 system. Perform the fixes correctly to solve this error.
After performing these fixes, if you are still getting this error, then you should consult with an expert for better guidance.