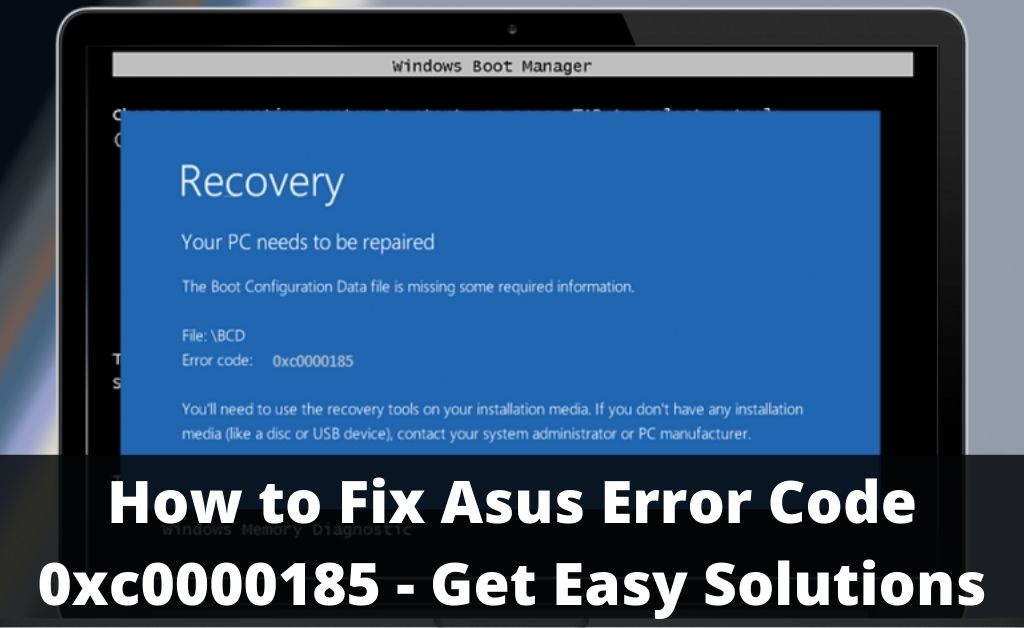
Asus or Windows error code 0xc0000185 is one of the most annoying problems faced by a huge number of users. It is a form of BSOD or Blue Screen of Death error that can stop the operating system from loading normally.
As a result, the computer fails to start up and users may not be able to work with their computers. There are a couple of reasons behind this particular error code. Ordinarily, It is caused due to a critical error in the Boot Configuration Data that is responsible for starting up the system.
Table of Contents
Effective Solutions to Fix Asus Error Code 0xc0000185 [Windows 10]
Go through the following section to learn how to fix this issue on your own. However, you need to first create a Windows Installation Disc on a working computer to go through with the solutions.
The Windows Installation Disc can easily be created by visiting the official website of Microsoft. Head over to the Downloads section and download the Installation Media for the version of the operating system that you have installed in your own system. Make sure that you download for the correct system type as well.
Thereafter, go through the following solutions to try and fix this issue.
Solution 1: Repair your Device Through Installation Media
The first thing you have to do is to power on your device and insert the Windows 10 installation media into the respective port. Next, follow the steps as instructed below.
- Restart your system and press the F12 or F2 key to enter the boot menu. This button differs from system to system. Next, choose the Installation disc as the primary boot disc. The system will now boot through the Installation media.
- Next, enter the time and date when the window appears. Thereafter, choose the “Repair your Computer” option.
- After that, navigate to the “Choose an option” tab and click on the Troubleshoot option as well. Head over to “Advanced Option” and select “Automatic Repair”.
- Now, choose the Operating System you are currently using the repair tool will start scanning for any errors in the system. Subsequently, it will fix them as well.
- Finally, restart your system and check if the same error code is still showing up or not.
Solution 2: Rebuild Boot Configuration Data
Go through with this step if the previous solution doesn’t work for you. Thus, you may have to rebuild the Boot Configuration Data for it to boot normally.
Follow the steps below to do so.
- Similar to the previous solution, insert and choose the Windows Installation media as the primary boot sector and load your system from it. Navigate and choose the “Repair your Computer” option from the menu.
- Next, navigate to the “Choose an option” tab click on the Troubleshoot option as well. Here, click on “Advanced Option” and choose the Command Prompt option.
- Thereafter, enter the following commands in the console one by one. Execute each of these commands by pressing the enter key.
bootrec /fixmbr
bootrec /fixboot
bootrec /rebuildbcd
- After executing the commands, exit the command prompt and restart your system. Take out the installation media and check the status of the error code.
Solution 3: Perform a System Restore
If the first two methods are not workable for you then you can follow this one. Generally, a system restore will roll back your computer to an earlier point of time. As a result, most of the settings will be undone and probably fix this issue as well.
You can do this by following the steps below.
- First, restart your computer and insert the Installation Media disk.
- Then choose the “Repair your Computer” option and head over to “Choose an option”. Here, select ‘Troubleshoot’ from the options.
- Next, head over to the Advanced option and click on the System Restore option. Follow the on-screen instructions and choose a restore point from the options. Thereafter, click on Next and follow the rest of the instructions.
- Finally, wait for the system to be restored and check if you’re still seeing the Asus Error Code 0xc0000185 or not.
Solution 4: Clean Installastion of Windows 10
As a last resort, you can format your hard disk completely and perform a clean installation of the Windows operating system. You can do this by using the same Installation media you’ve been using so far.
However, make sure that you have your Product key at your disposal as it will be required to activate your Windows operating system. Thereafter, follow the instructions below to run a clean installation of Windows on your system.
- Turn on your computer and insert the Installation Media disc in your system. Boot up from the media disc and modify the date and time settings.
- Now, instead of choosing Repair your computer, choose ‘Install Windows’ and follow the instructions that follows.
- It is important to note that all your files and folders will be automatically deleted and there’s not much that you can do about it. An alternative way to prevent this is by hiring a professional technician and he will be able to boot up from a different operating system entirely.
- Thus, continue with the installation of Windows on your device until it asks for your Product key. Simply enter it or you can choose Skip to enter it later. However, activating Windows operating system at the earliest is always recommended.
- Finally, restart your system after the installation procedure is completed. You should not get any error codes now. Furthermore, this will help you to resolve any unknown errors as well.
Conclusion
Hopefully, performing a system restore or doing a clean installation of Windows helps to resolve the Asus error code 0xc0000185 on your system. You can choose to contact Technical support if you’re facing any issues in following the instructions.