If you are using the Asus laptop, you may have encountered Asus bios error code a9 at some point in time. When this error message appears, your laptop stops working all of a sudden. Generally, this error can be attributed to BIOS, CMOS, Motherboard or CPU problems.
Table of Contents
Effective Methods to Fix Asus Bios Error Code a9
Here, we have shared some effective troubleshooting methods to easily resolve this issue on your system. Simply follow the steps as instructed to fix this error correctly.
Method 1: Restart your Asus Laptop
Once you encounter this error, the first thing you need to do is simply restart your device. Thus, performing a power cycle will help to reset the RAM and help to resolve this issue.
- While your laptop is turned on, press and hold the Power button of your laptop.
- Keep holding until the laptop eventually shuts down and then release your finger from it.
- Thereafter, you need to unplug all the power connections of your Asus Laptop and let it sit for a while. Thus, wait for a few minutes.
- Finally, plug everything back in and turn on your Asus laptop. Check to see if the issue still persists or not.
Method 2: Reset CMOS Settings
If the previous methods fail to resolve this error, then you can try to resolve this issue by resetting your laptop’s CMOS settings. In order to do this, follow the steps mentioned below.
- First of all, shut down your computer and remove the power cord to ensure that your computer receives no power.
- Before proceeding with these steps make sure that you are skilled enough because Static discharges can damage your device.
- Next, overturn your laptop and carefully unscrew it to pry it open. On your motherboard, locate the CMOS battery and remove it. Besides this, you will see two pins with the words ‘Reset CMOS’ written beneath them. Take any metal object and connect these two pins for a few seconds. Make sure that you do not touch any other electrical component or it could harm your motherboard.
- After that, wait for 5 to 10 minutes and insert back the battery on your laptop. You may also insert a new battery if you think it’s time for one.
- Finally, assemble everything in its place and turn on your laptop. Check to see if the issue has been resolved.
Method 3: Update the BIOS
Finally, the Asus BIOS Error Code a9 should be resolved by simply updating the BIOS if the previous methods don’t work for you. Thus, you can update your BIOS by following the steps below.
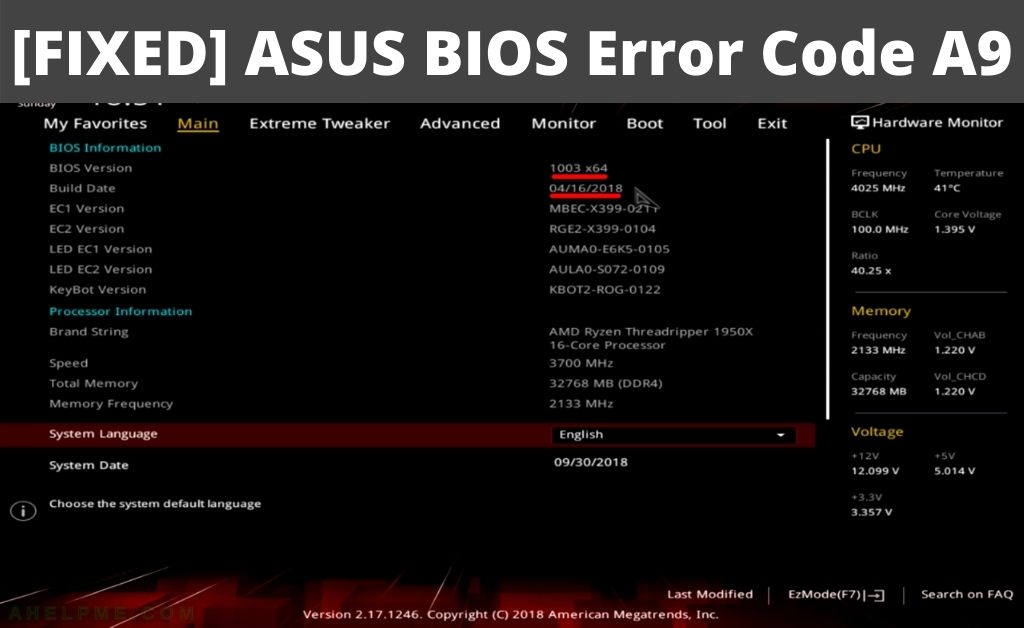
Step 1: Find your current BIOS Version
First, you have to check your current BIOS version before searching for the latest BIOS on Asus’s website. You can do this by following the steps below.
- Press the Start key on your keyboard and type ‘cmd’. Subsequently, press enter.
- Now, type ‘systeminfo’ in the empty console and press enter.
- Here, you can see all the information about your system including the BIOS version. Therefore, note it down somewhere.
Step 2: Backup the BIOS
Before you start the update process, you need to back up the BIOS. In this case, the BIOS updater comes with the Save or Backup option by default.
Step 3: Select the Correct Update
In order to locate the correct updated version of BIOS, you need to visit the manufacturer’s website. Alternatively, you can also search for other official websites to get the latest version of BIOS. Once you find the latest BIOS, you have to download it.
Step 4: Run Updated BIOS
After completing all of the previous steps, you need to run the downloaded BIOS installer and execute it as an Administrator. Thereafter, follow the instructions as displayed and restart your system after completion.
Final Note
To summarize, you should be able to easily resolve Asus BIOS error code a9 by following the methods mentioned above. If you’re still facing this issue, then you need to contact a professional technician to better resolve this issue.