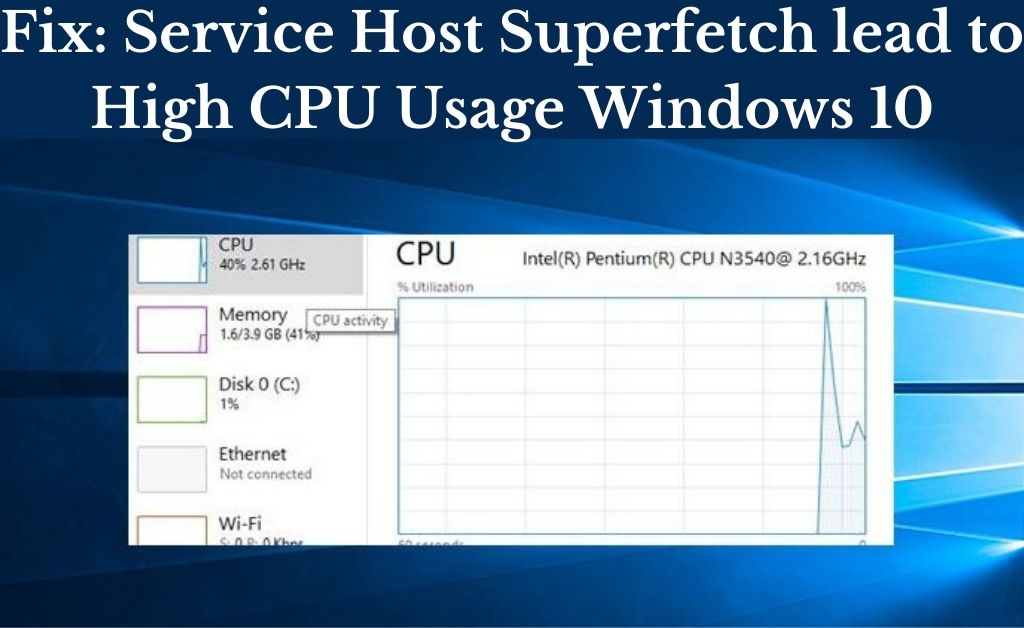
If you are a Windows user, you can face a problem where upto 96% of your disk or CPU is used by the process System Host: Local System (Network Restricted). This issue is appearing to be a problem from the days of Windows 8 and is still here in the days of Windows 10. Tech experts have found Superfetch, a Windows system service that gives birth to this issue most of the time.
Table of Contents
What is Service Host Superfetch?
The Service Host Superfetch allows Windows users to manage random memories so that they can use the application from your device properly. Windows Vista and onwards users can use this technology.
As well as Superfetch assists the third-party applications and your Windows components to perform the common tasks. Instead of rechecking to the hard drive, it reads and stores all the data of the frequently used applications directly from RAM.
Superfetch also copy all the files to RAM that you use regularly. In case your device does not have the updated hardware then this technology can cause high disk usage. It also boosts your device’s speed by reducing boot time and loading the common apps quickly.
This innovative memory manager builds a cache profile of programs and applications with the help of a lightweight tracking algorithm.
But while you notice this service is causing high disk usage you may want to disable it from your device. However, you may notice lag while you are accessing the frequently-used applications that would load faster when it is turned on.
Fixing Service Host Superfetch High CPU Usage
Mentioned below are the solutions to fix the issue Service Host Superfetch taking up high CPU. Follow and apply them accordingly to get rid of the issue in no time.
Solution 1: Try Disabling the Superfetch Service
- Press the Windows key and the R key together on your keyboard to open the Run utility.
- After that, type services.msc there and hit the Enter button.
- Now find the service named Superfetch by scrolling down the service list.
- To edit the settings of Superfetch, you have to double-click on it.
- Stop the service by clicking on Stop.
- Now Disable the Startup type of Superfetch.
- Select Apply and click on OK.
- Restart your device.
Now check if this has fixed the issue.
Solution 2: Try Fixing the Memory Leak in the Non-paged Pool of Memory
If the above solution failed to fix the problem, follow this method to fix it. Here are the steps that you need to follow.
- Press the Windows key and the R key together on your keyboard to open the Run utility.
- After that, type regedit there and hit the Enter button.
- Go to the following directory in the Registry Editor left pane.
HKEY_LOCAL_MACHINE > SYSTEM > ControlSet001
- Then choose Service that you are going to find in the left pane and select Ndu by scrolling down under service.
- Now double-click on the registry value titled Start that you are going to find in the right pane and change it.
- You have to modify the Value data to 4. Then it will get disabled and the memory leak will be plugged in the non-paged pool.
- Click the OK button and Close the Registry Editor.
After performing the above fix, restart your device and check if the problem is still there.
Solution 3: Try Running the System File Checker
- First, you have to type cmd on the search bar of the Start menu. Then select Run as Administrator after right-clicking on the command prompt icon. You have to accept the UAC prompt when it appears.
- Type “sfc / scannow” without the quotes after getting in the command prompt and hit the Enter key.
Now you have to wait until the scan is completed. A message will appear on the screen of your device saying “Windows Resource Protection found corrupt files and successfully repaired them. Details are included in the CBS.Log %WinDir%\Logs\CBS\CBS.log.” if the scan is successful.
- Now, enter the command
dism /Online /Cleanup-Image /RestoreHealth
Check your Memory load and CPU after the command finishes running.
Check if this method has fixed the issue you were dealing with.
Solution 4: Kill the SVChost
You can try to fix the issue by killing the Service Host process that you are going to find in the Task Manager.
- Press the Ctrl key, Shift key and the Del key together on your keyboard. This will take you into the Windows Task Manager. You can also select Task Manager after right-clicking on the taskbar.
- Now expand the manager by clicking on the More details. You will see all the running processes then.
- Now find out “Service Host: Local System”. Windows Update and the Update Orchestrator Service are hosted by this process. Select End task after clicking on this task.
- When you see the confirmation dialog, you have to check ‘Abandon unsaved data and shut down’ and choose the option Shut down.
- Now you have to check the CPU load to check if the issue is fixed.
Solution 5: Perform a Clean Boot
In case any third-party application or service is the reason behind High CPU usage, you can perform a clean boot to disable all the third-party services. Here are the steps that you need to follow to do that.
- First, you have to Log in to your device with an Administrator account.
- Press the Windows key and the R key together on your keyboard to open the Run utility.
- After that, type msconfig and hit the Enter key.
- Choose the option Services and untick the option Hide all Microsoft Services from there.
- Now, click on the option Disable All and hit the OK button.
- After that, click on the tab Startup and choose the option Open Task Manager by clicking on it.
- From the task manager, open the Start menu by clicking on it.
- Now you can select any Enabled application from the list, by clicking on it. Then disable it by choosing the option Disable.
- You have to perform the same process for all the applications in the list and restart your device. This will Clean Boot the Windows system.
- Now check if this has fixed the issue.
- If you find the error is not there anymore, you can enable the services one by one and check the service for which you are facing the issue
- You have to keep that service disabled or you can reinstall that.
These were all the solutions that can fix the issue Service Host Superfetch taking up high CPU. Hopefully, you have already fixed the problem you were dealing with, following and applying the above solutions.